ARRI Floating License
Products for ARRI are available via internet activation or using a floating license server. This FAQ describes the floating license installation and deployment process. Non-Floating license info is here. Floating License requires to select a machine on the network as a license server and the other systems on the network will be referred as the clients. Floating licenses are recommended for studios or teams, as they allow multiple users to share licenses across different machines over a network. Individual users may prefer standard (node-locked) licensing options instead. Download the installer (link below).
Download floating license software
Floating Licenses ARRI Compatibility
On Windows on the server machine, you might need to open a port for Windows Firewall.
- 1. Open Windows Defender Firewall: Search for “Windows Firewall” and select “Windows Defender Firewall”.
- 2 Access Advanced Settings: Click on “Advanced Settings” to open the Windows Defender Firewall with Advanced Security console.
- 3. Create a New Rule: Click on “Inbound Rules” or “Outbound Rules” depending on your needs. Select “New Rule” and choose the “Port” option.
- 4. Specify Port Number: Enter the specific port number you want to open and choose TCP
- 5. Apply the Rule: Choose when the rule applies (domain, private, public), give it a name, and finish the setup.
On Mac, be aware of this:
If there is an issue with incoming connections, users will need to have the option below enabled, which is checked by default in macOS settings. 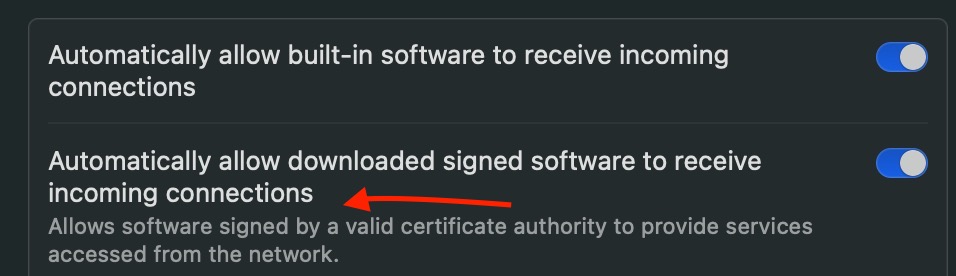 Activating the server Simply pass as below your license product key. TurboFloatServer.exe -a=”ABCD-EFGH-IJKL-MNOP-QRST-UVWX” Then: TurboFloatServer.exe -i This will install and immediately start an instance of the license server. Air Gapped network: If you can’t whitelist the domain wyday.com for the server machine, you can switch to an XML file process.
- Generating the activation request
- Pass in the product key and location for the activation request XML file
TurboFloatServer.exe -a="ABCD-EFGH-IJKL-MNOP-QRST-UVWX" -areq="C:\Location\To\Save\ActivationRequest.xml"
- Using the activation response* After submitting the activation request to your account and receiving the activation response, you can activate the TurboFloat Server *
TurboFloatServer.exe -a -aresp="C:\Location\To\ActivationResponse.xml"
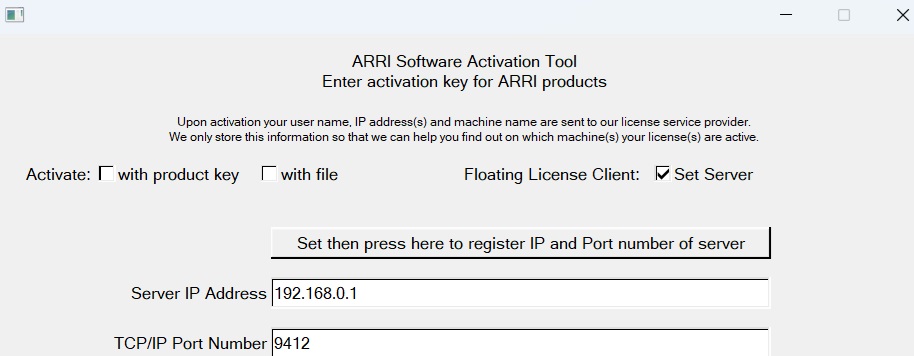
Client Machines Use ARRIActivate to set client machines. Interactively: For network deployment you can also try ArriActivate -s -F [IPaddress PortNumber] -> 2 arguments to F